Zwave
Z-Wave is a wireless communications protocol used primarily for home automation. It is a mesh network using low-energy radio waves to communicate from appliance to appliance, allowing for wireless control of residential appliances and other devices, such as lighting control, security systems, thermostats, windows, locks, swimming pools, and garage door openers. For integration of Zwave you need a [Zwave USB stick] (https://aeotec.com/z-wave-usb-stick/index.html) and one or more devices. The advantage of Zwave compared to Wifi is larger distance and less power consumption. A Zwave sensor can run several years on a single battery.
| Raspberry PI | Zwave stick | ZWave device |
|---|---|---|
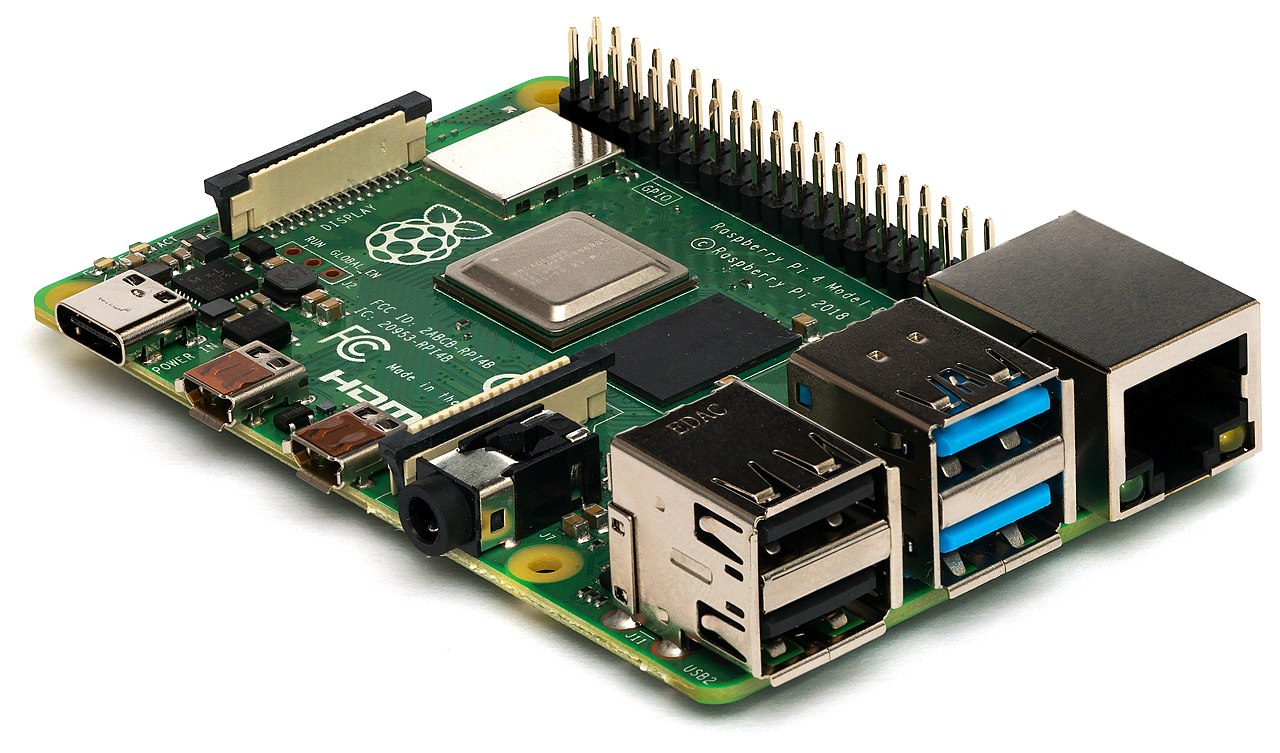 | 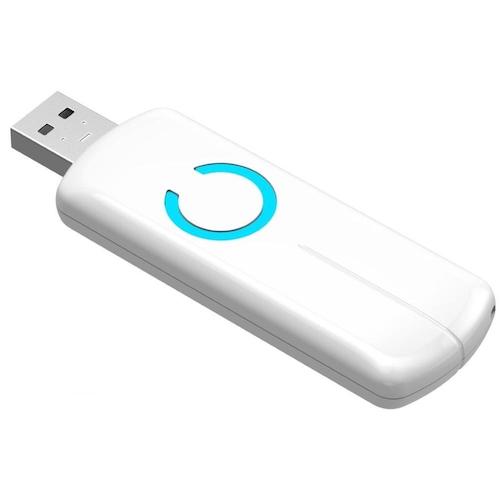 |  |
Zwave2MQTT
For communication with Zwave devices you can use a Raspberry Pi or other computer with a Zwave stick and Zwave2MQTT software, which can be downloaded free of charge.
For integration of Zwave connect the stick to a USB port and check the name of the device. Instead of using /dev/ttyACM0 is it better to use the serial/by-id device because this is independent on the USB slot in which the stick is inserted. On a Raspberry Pi this is something like /dev/serial/by-id/usb-0658_0200-if00.
Follow the installation instructions for zwave2mqtt or start a docker container:
docker run --name zwave2mqtt -d -it -p 8091:8091 --device=/dev/serial/by-id/usb-0658_0200-if00 -v /home/pi/zwave2mqtt/store:/usr/src/app/store robertslando/zwave2mqtt:latest
Open a web browser and login:
http://localhost:8091
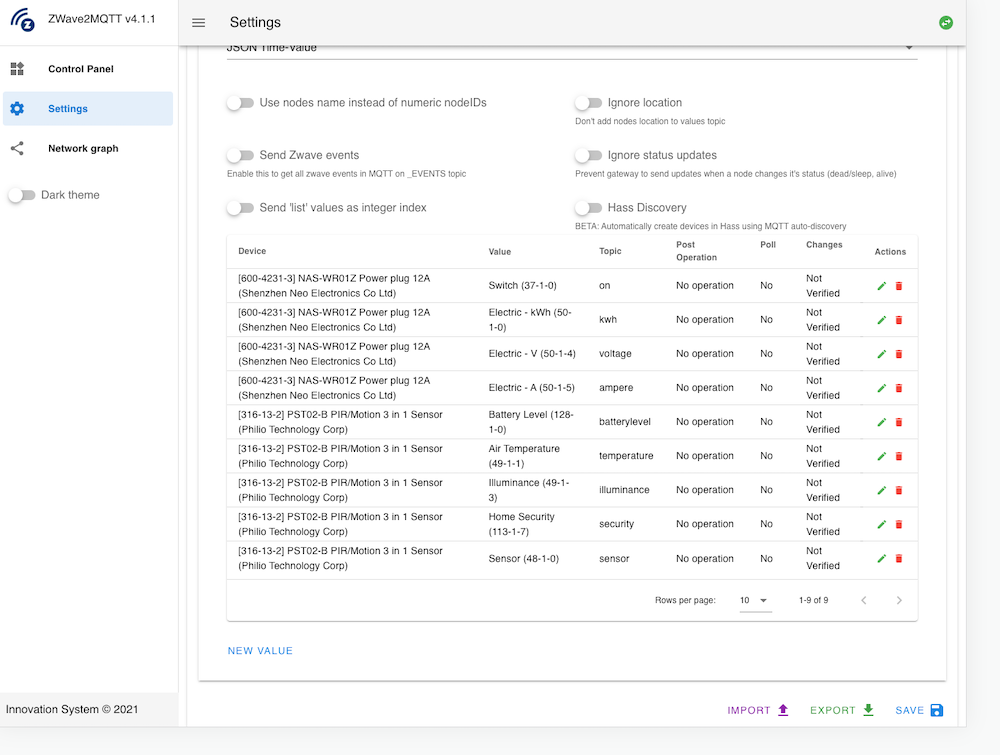
Go to the settings section and enter the device /dev/serial/by-id/usb-0658_0200-if00 in the Zwave section. In the Mqtt section enter the details of the MQTT host where the data should be sent to and select retain. In the Gateway section you can map the Zwave device information to MQTT topic.
Subscribe
The raw MQTT data sent by the Zwave2MQTT service includes a topic and a JSON body with the time and a value:
mosquitto_sub -h [HOSTNAME] -u [Username] -P [password] -v -t zwave/#
The output looks as follows:
zwave/office/printer/voltage {"time":1637850956331,"value":226.79}
zwave/office/lamp/kwh {"time":1637851022338,"value":96.44}
zwave/office/2/50/1/256 {"time":1637851022343,"value":false}
zwave/office/pir/temperature {"time":1637850316964,"value":68}
zwave/office/lamp/on {"time":1637851320475,"value":true}
zwave/office/lamp/voltage {"time":1637851024324,"value":233.59}
Publish
To update an MQTT device you can publish a message to the topic with suffice /set. For example, to turn on a lamp you can use the following command:
mosquitto_sub -h [HOSTNAME] -u [Username] -P [password] -v -t 'zwave/office/lamp/on/set' -m '{"value": true}'
Datasource
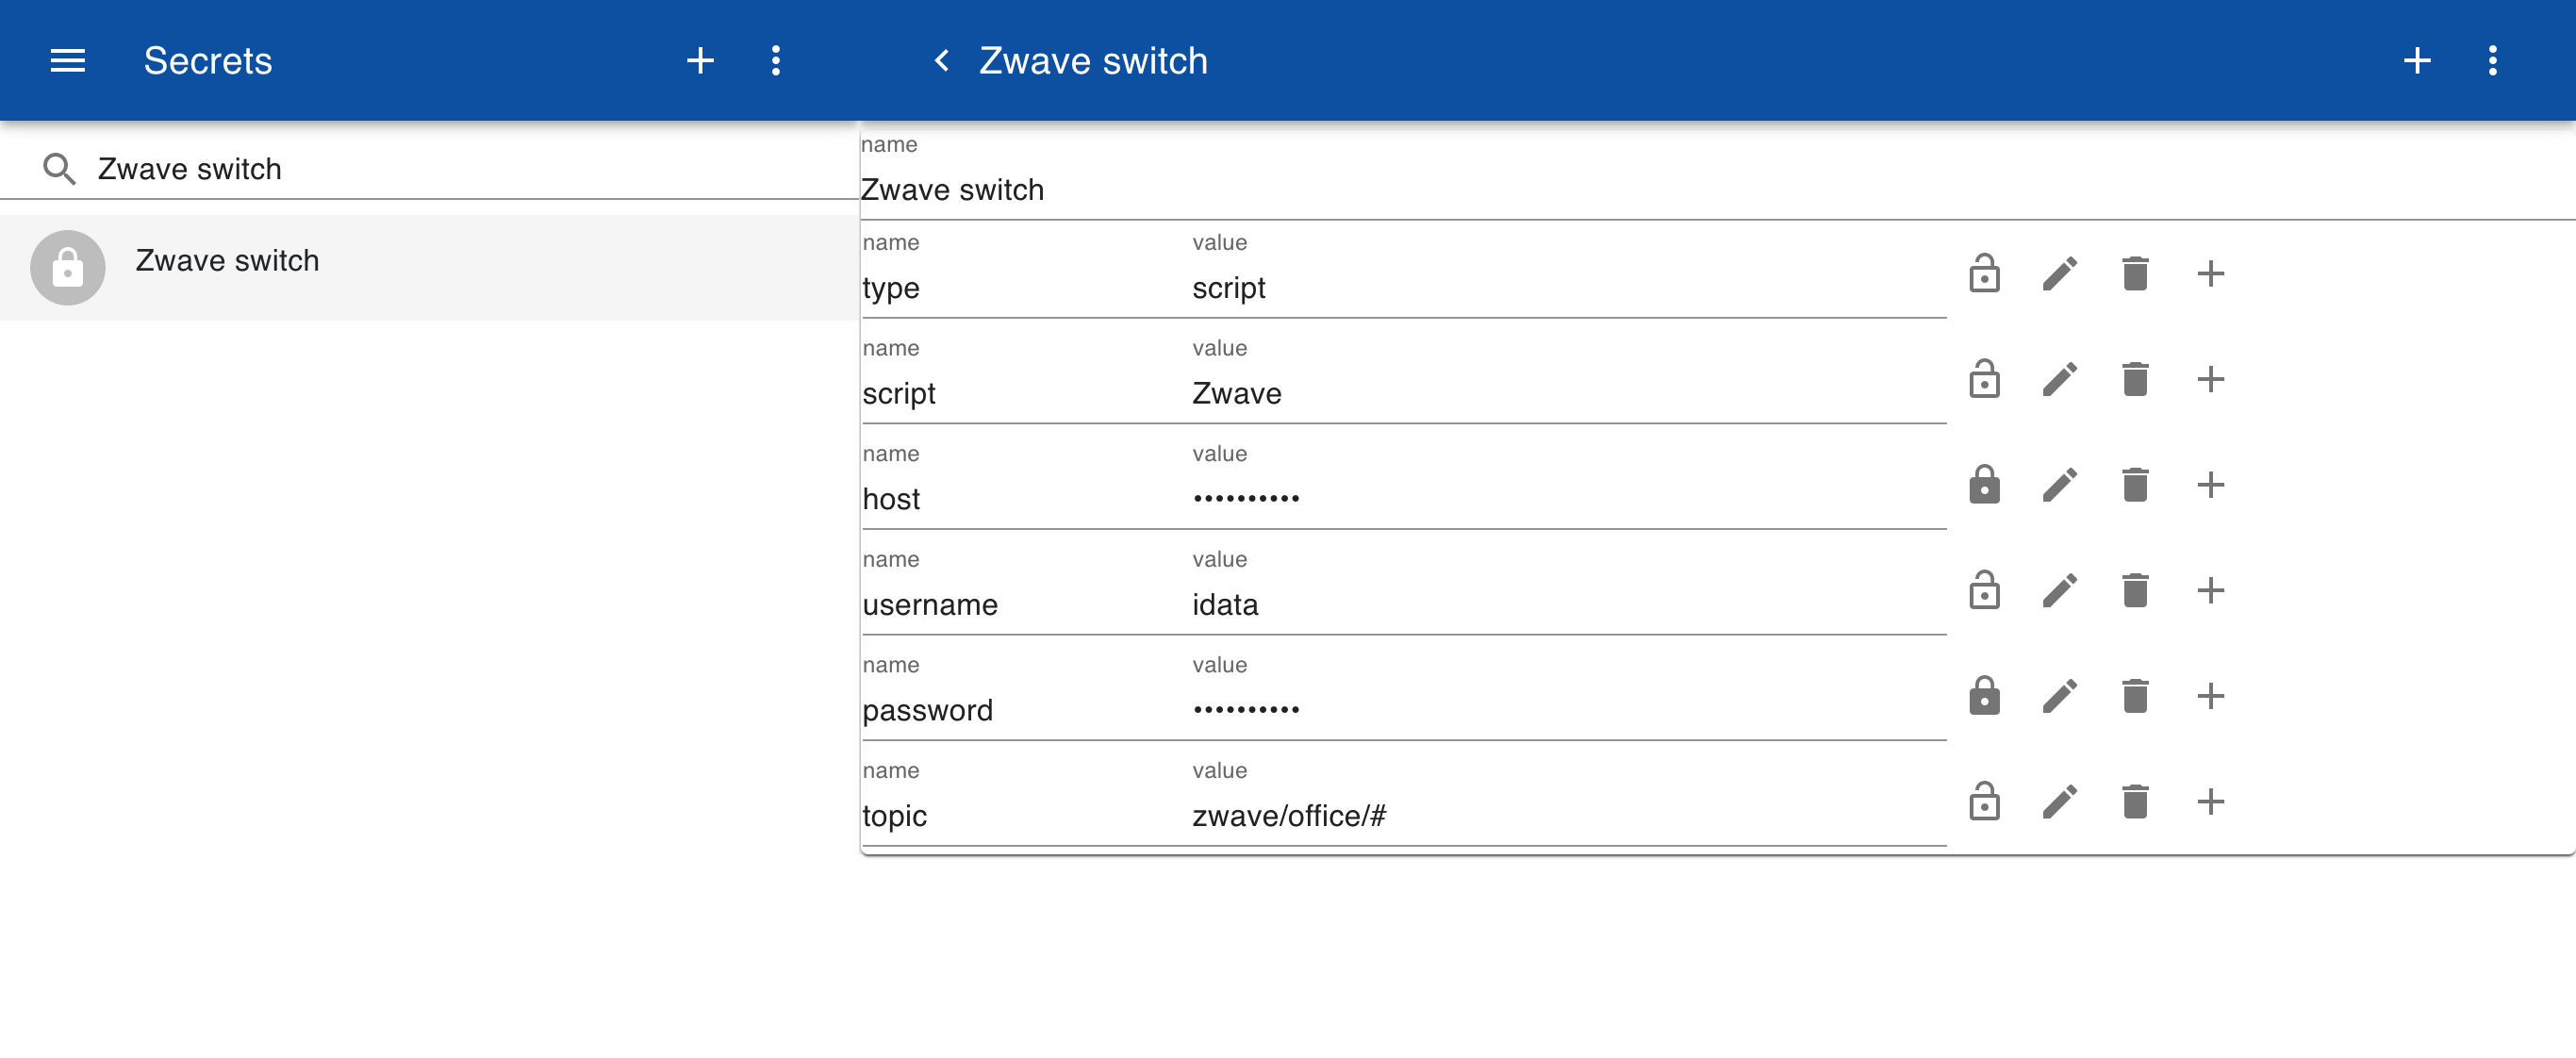
Create a new secret but instead of setting the type to mqtt we now set the type to script and let the script handle the MQTT interaction.
Script
Instead of using a JavaScript mqtt.set() and mqtt.get() call we use a script that extracts the MQTT message and displays the data. The script also handles publishing MQTT topics to control devices by appending a /set postfix to the topic and wrapping the value in a JSON object.
const get = async (object, context) => {
    let event = await mqtt.get(object)
    return event.message
}

const set = async (object, key, value, context) => {
    var topic = object + '/' + key + '/set';
    var message = '{"value":' + value + '}';
    mqtt.publish(topic, message, context)
}
To test the script enter the code below and select Run.
let context = await encryption.secret("ZwaveSwitch")
let event = await get('zwave/office', context)
print('State ' + JSON.stringify(event,null,2))
await set('zwave/office/lamp','on', false, context)
When the test is run the output should look as follows:
{
  "pir": {
    "temperature": {
      "time": 1654609986703,
      "value": 72
    },
    "illuminance": {
      "time": 1654601135119,
      "value": 36
    },
    "security": {
      "time": 1654601135124,
      "value": "Motion Detected at Unknown Location"
    },
  },
  "printer": {
    "voltage": {
      "time": 1654610509073,
      "value": 228.43
    },
    "ampere": {
      "time": 1654610510075,
      "value": 0
    },
    "kwh": {
      "time": 1654610507086,
      "value": 56.67
    },
    "on": {
      "time": 1654609902578,
      "value": true,
      "set": {
        "value": true
      }
    },
  },
  "lamp": {
    "kwh": {
      "time": 1654610714063,
      "value": 96.55
    },
    "voltage": {
      "time": 1654610715215,
      "value": 234.42
    },
    "ampere": {
      "time": 1654610716215,
      "value": 0
    },
    "on": {
      "time": 1654610709085,
      "value": false,
      "set": {
        "value": false
      }
    },
  }
}
Connector
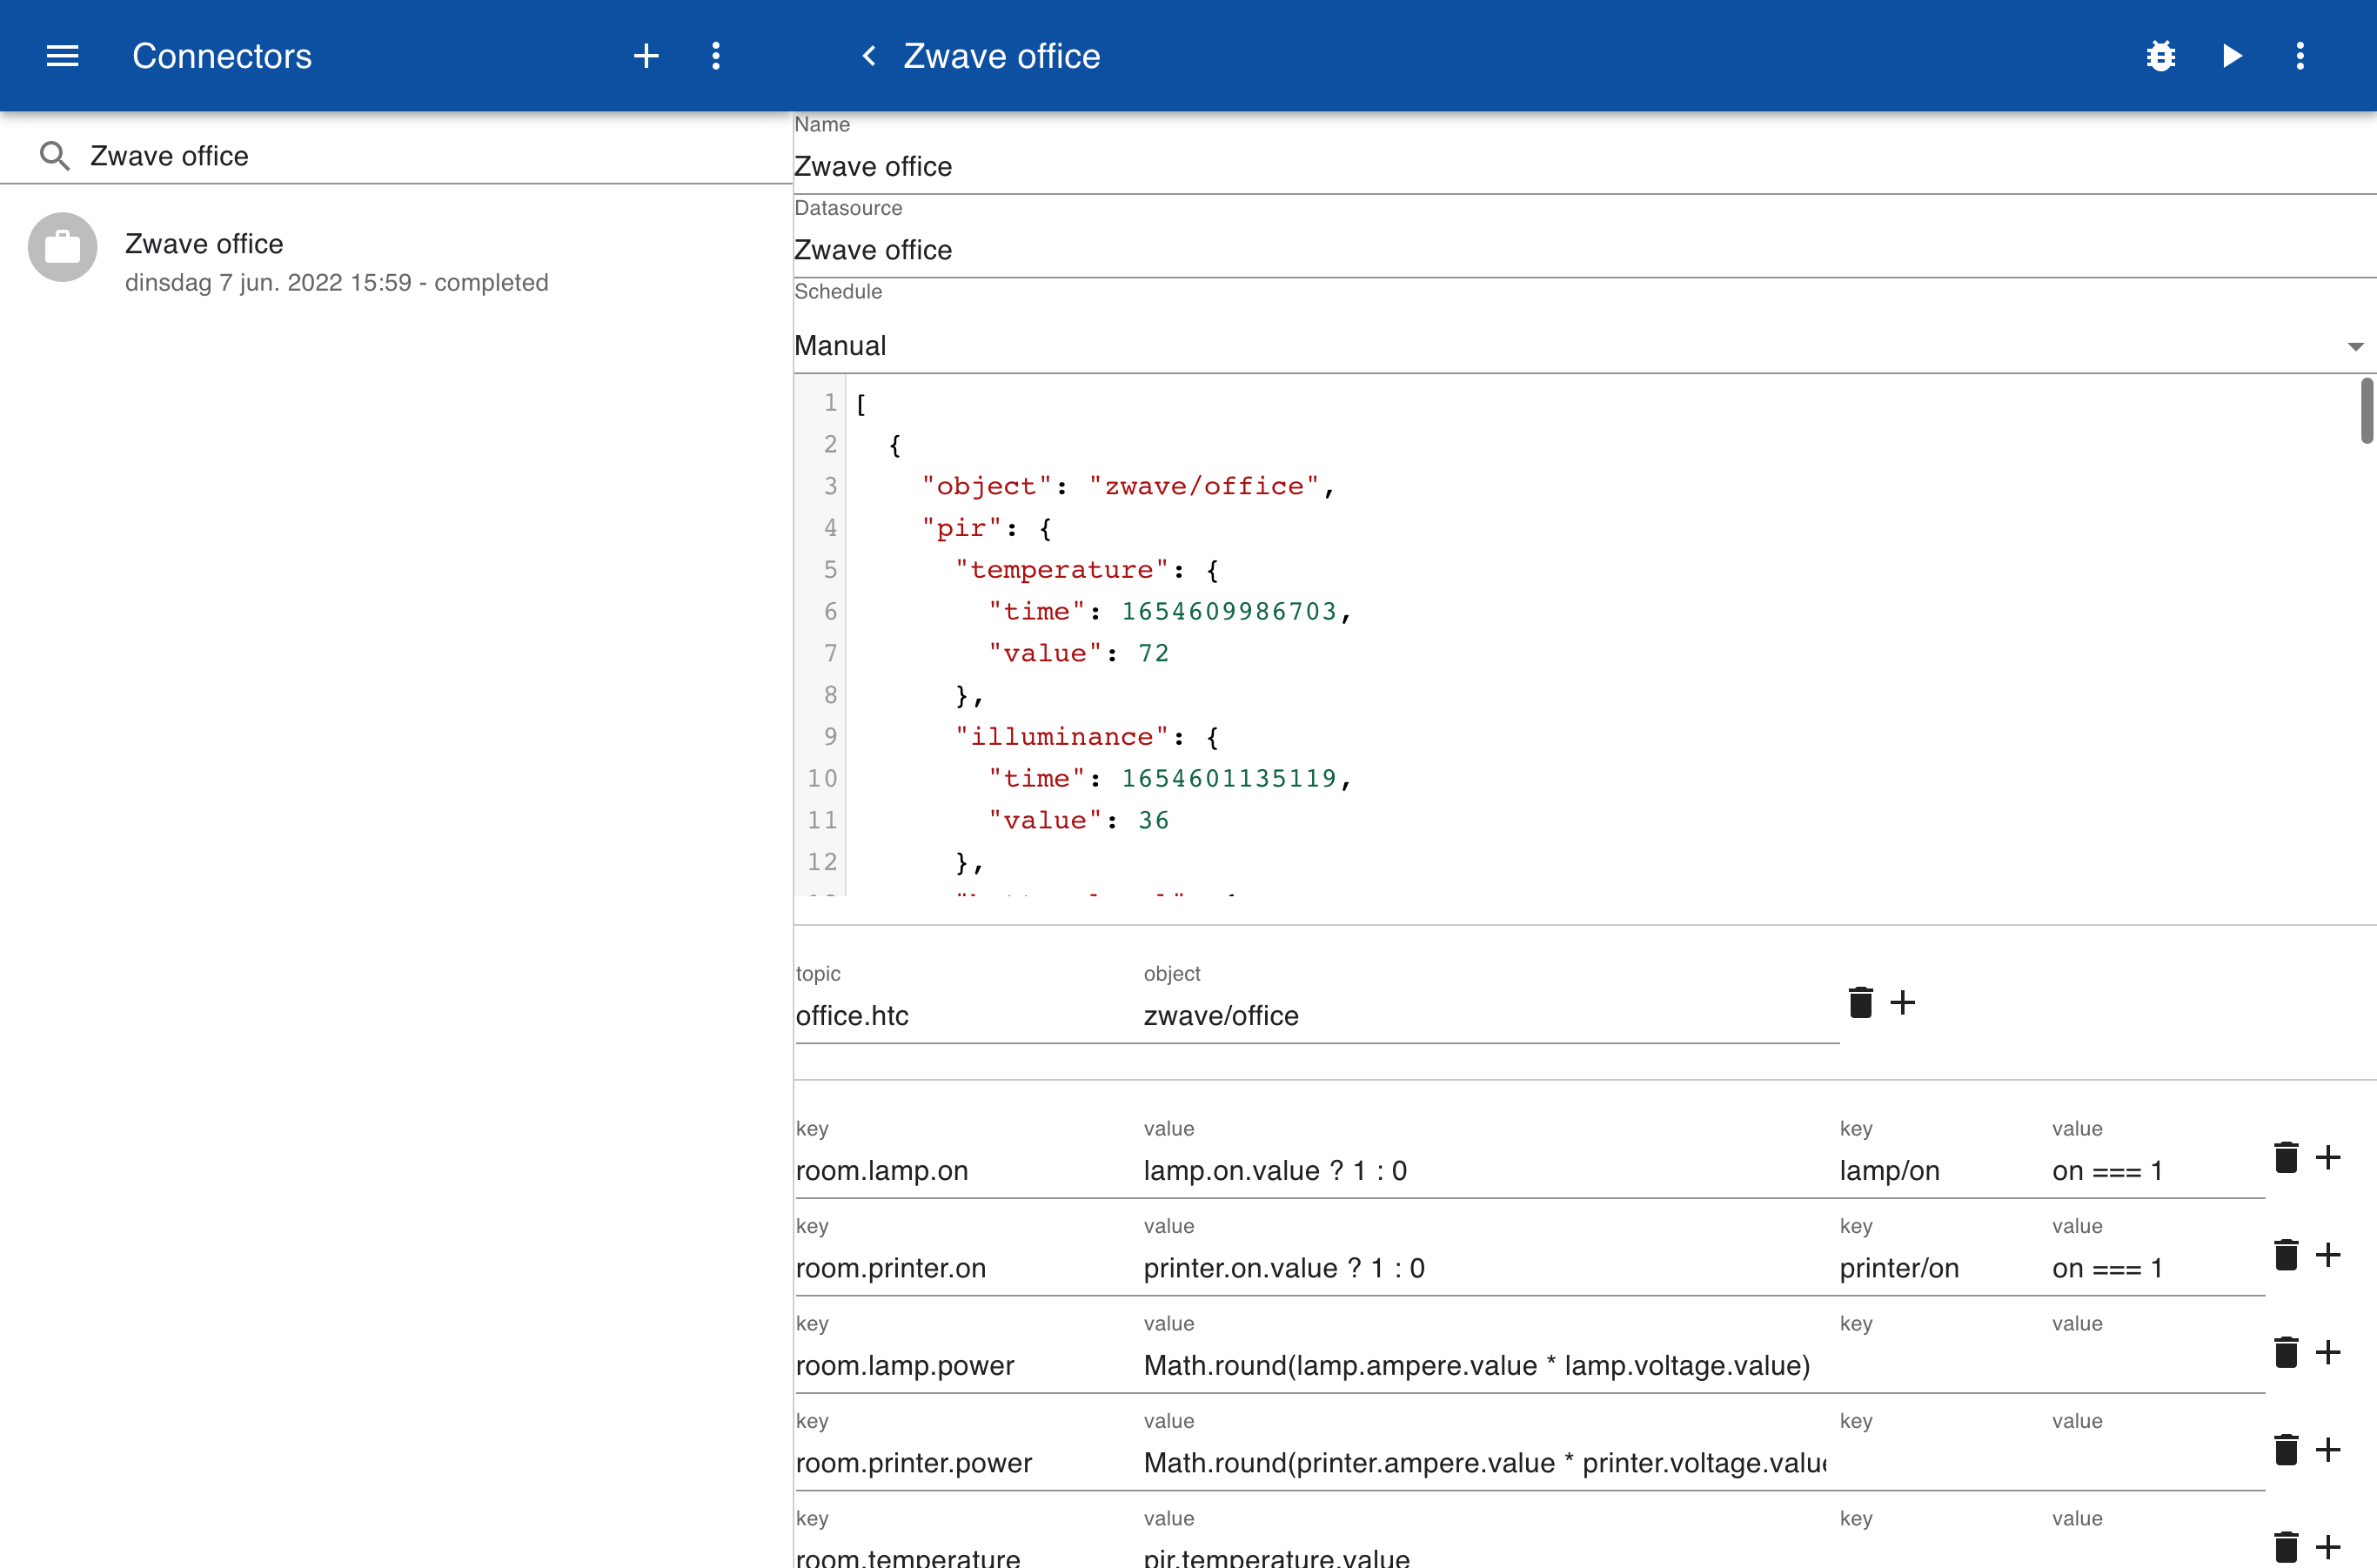
The importer shows how the main topic office.htc is mapped to the MQTT topic zwave/office. This means that all subtopics are includes, such as zwave/office/pir/temperature and zwave/office/lamp/voltage. The value of the field zwave/office/lamp/on with value true or false is mapped to the topic office.htc.room.lamp.on with value 0 and 1. The MQTT also allows setting the value. The export is mapped to the topic zwave/office/lamp/on. The set function appends /set to the topic so the MQTT topic becomes zwave/office/lamp/on/set and the message becomes {value: true}
Form
To view the data and control the switches you can manually load the state for office.htc.room.lamp.on and change the value from 0 to 1, or this can be done automatically by an automation script. To control the switch manually you can create a new form.
Room panel

lamp.on:Lamp
[powerbutton]

printer.on:Printer
[powerbutton]

Lamp
<lamp.power
[000 W]

Printer
<printer.power
[000 W]

Temperature
<Math.round((temperature-32)*5/9)
[16|18:magenta,18|22:green,22|25:red C]

Luminance
<luminance
[0|30:grey,30|80:green,90|100:red %]
After creating the form go to Items and search for office.htc.room. In this form you can view the data and press the switches.