GLTF models
GLTF is a royalty-free specification for the efficient transmission and loading of 3D scenes and models. The format can be compared to JPEG for images or MP4 for video transfer. GLTF models can be downloaded from web sites such as Sketchfab or can be exported from Computer Aided Design (CAD) applications such as Blender, Autodesk Fusion 360 or Solid Edge. GLTF models include capabilities for animation and can be used to visualize IoT parameters.
Create model
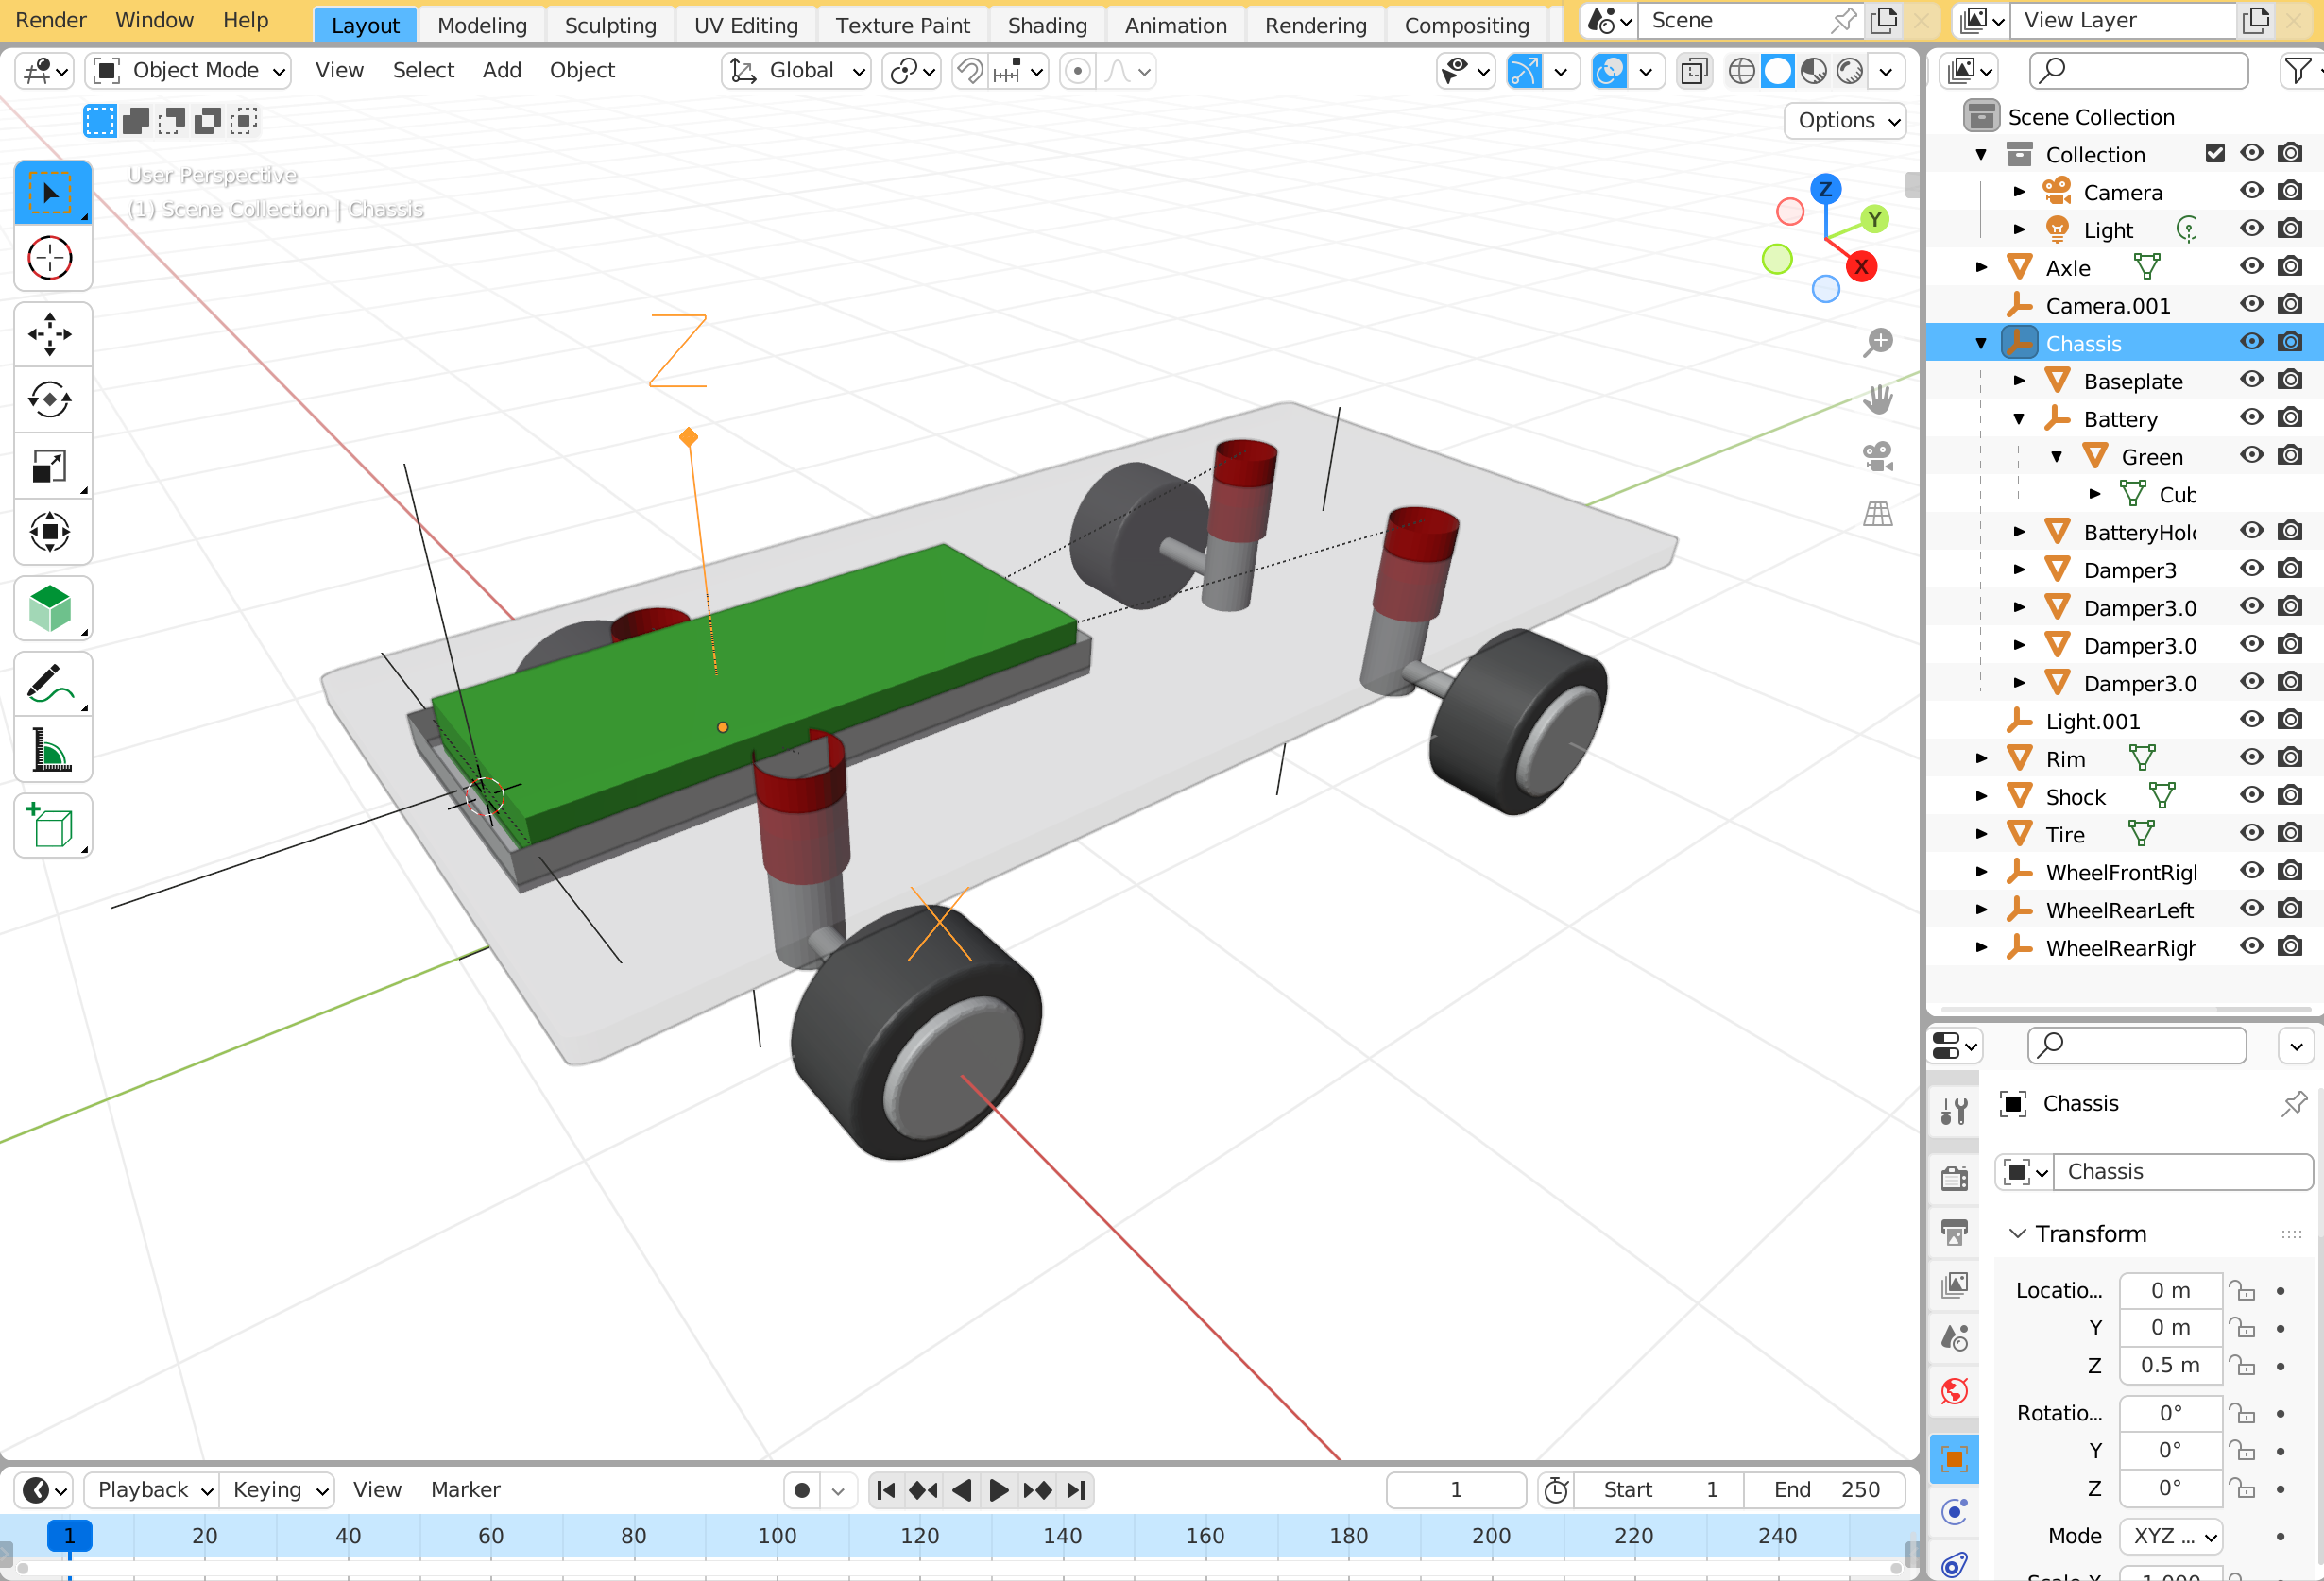
In this example we create a 3D schematic representation of an electric vehicle with the free and open source software Blender for rendering, modeling and animation. The creation of the 3D model is beyond the scope of this documentation but various videos and tutorials can be found online. The electric vehicle model includes a set of 4 wheels and a chassis. The chassis, or body, includes a transparent plate, 4 dampers and a green battery. It has its own coordinate system named Chassis with translation of 0.5 meter in z-direction. Linked to the chassis is a battery, modeled by a green block, with its own local coordinate system named Battery. We will show how the transformations of these coordinate systems can be driven by IoT parameters. After the model is completed it is exported to GLTF 2.0 with name 'ev.glb'.
Import GLTF
The file ev.glb is imported via the Files menu or it can be uploaded by creating a new topic vehicle.A_12_BC.geometry. The topics for the state of suspension and charge_level can be obtained real time via a connector such as for Tesla integration.
vehicle.A_12_BC.geometry=ev.glb
vehicle.A_12_BC.suspension=0
vehicle.A_12_BC.charge_level=10

vehicle.A_12_BD.geometry=ev.glb
vehicle.A_12_BD.suspension=0
vehicle.A_12_BD.charge_level=10
...
Next we create two topics to link the charge level and suspension to the transformations of the coordinate systems in the GLTF model created in Blender. The link to the transformation in the GLTF is defined by using the prefix node followed by the name of the node with the transformation. For example, to raise the suspesion with 0.2 meter and set the charge level to 80% you can create the following topics:
vehicle.A_12_BC.node.battery.scale.y=0.8
vehicle.A_12_BC.node.chassis.position.z=0.2
The scale in y-direction will result in a shorter green box that indicates the state of the battery.
Visualize parameters
Instead of using a fixed number for the node transformations you can also use the value of another topic in combination with any Javascrip expression. If the suspension parameter is a range from 0 to 2 you can limit the maximum elevation of the chassis to 20 centimeter by using a Math.max expression.
vehicle.A_12_BC.node.battery.scale.y=vehicle.A_12_BC.charge_level/100
vehicle.A_12_BC.node.chassis.position.z=Math.min(vehicle.A_12_BC.suspension / 2)*0.1
To show the suspension we create a new model and add the topics for the three different vehicles with topics vehicel.A_12_BC, vehicle.A_12_BD and vehicle.B_12_CF. The image shows three different GLTF models with transformation that set the scale of the battery and height of the chassis.

Using GLTF models to visualize IoT parameters opens new ways to create advanced user interface components. Unlike 2D user interface elements created with HTML, CSS or SVG these components can visualize values in 3D, or even 4D if you slide across the time range for the parameters.